
Pull Through Braid Tutorial
Hey Friend,
One of the best perks of being a girl mom is, hands down, the hair manipulation! I absolutely LOVE playing with their hair and creating all those sweet & whimsical hairstyles for my girls!
Although, they’re not always big fans of “monster mommy” and her brushing tactics, but I do what I gotta do to keep us from looking like raggamuffins everyday mmkay!
What I truly love about putting their hair up though, is that it’s out of the way. They can play, eat, craft, and go crazy without hair getting in their face plus when it’s been up most of the day, it’s so much easier to keep tamed && I no longer have to be that monster mommy because there are hardly any knots 🙌🏼🙌🏼
The Newsletter
Snag my “Crafting Wonder” Activity Sheets – a mama’s must have!
This pull through braid is a perfect hairstyle for those who haven’t quite mastered the french braid just yet but still want a sweet and girly hairstyle. Honestly this is one of the easiest hairstyles yet so playful and unique, you are bound to receive compliments galore throughout your day.
Ok so keep reading to get your step by step on how to create this fun hairstyle for you & your little!

Disclaimer
Statements made here have not been evaluated by the FDA. This information is not intended to diagnose, treat, cure, or prevent any disease. Please note that I do not take the place of your health care professional and any changes made should be discussed with them first.
Affiliate Disclosure
Please note that some links listed on this page are Amazon or other affiliate links, meaning that I earn a small commission if you purchase through them they help to support crescent and sparrow as well as my family. Please know that I only link products that I love & trust in hopes that you and your loved ones can benefit from or enjoy as well!
Pull Through Braid Tutorial
What you’ll need:
brush
clear hair elastics
How to:
- Start by making a center part down all the way to the neck (basically making even piggy tales).
- Section off the side you’re not using yet, by putting it in a scrunchie or clip to keep it tight and out of the way.
- **Secure a small section at the top part of the side you’re working on with an elastic and flop the hair forward (weird I know but you’ll see why in a sec!
- **Next secure another small section below the first pony & flop that hair forward as well.
- **Now gather hair for yet another pony below the second, however BEFORE securing it, take the first pony and divide it in half then bring each half down towards the unsecured hair and secure together.
- **Gently pull the divided hair from the first pony out a bit to give it more volume and oomph!
- Continue steps 3-6 until you’ve reached your desired length and repeat on the other side.
- I like to stop at the neck sometimes and combine the piggies into one braid for my girls, since their hair is a bit thinner and the elastics can be rough on hair.
bonus: decorate your braids with fun glitter spray, cute hair clips, or bows!

This hairstyle is great for long or short hair since you are able to start from the scalp. Ava has shorter hair and this style looks just as great on her as it does on my Luna who has a bit longer hair.
Willow on the other hand, recently cut her hair into a mullet literally the day after getting a hair cut sooooo miss Joanna Dirt has a while until I can do anything with her unfortunately.
I really hope this tutorial was easy to understand. If not, please let me know if you would like a video tutorial && maybe we can get a reel published so ya’ll can see how easy it truly is. && if you liked this tutorial, be sure to pin this post for future reference and to subscribe for more content like this! Also don’t forget to tag me over on instagram @crescentandsparrow so I can see how adorable your littles look in their new dos! Thank you so much for reading & hope you have an amazing day!
Want to know a little hack?
One of the best oily hacks I learned was to put a drop of lemon oil on your elastic rubber bands before you take them off…let them sit for a few seconds & they will snap right off, if they don’t snap off they will slide off really easily. I believe the lemon oil just eats through it allowing you to just pull it off without breaking any hair or creating tears from pain of pulling them out. ✨ mom win!
Read Recent Posts from Crescent and Sparrow
you may also like
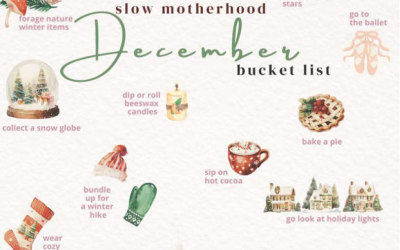
Slow Motherhood December Bucket List
Welcome back Friend, Grab yourself a tasty drink and let's chat - shall we?! Welcome December!! We have officially reached the last month of 2024 and WOW it feels crazy that we will be entering the new year in just a few weeks! Mama, I hope you've been enjoying these...
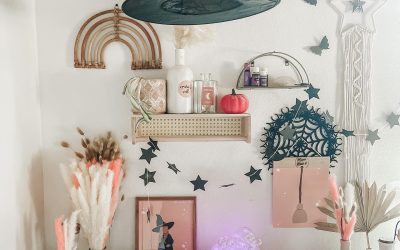
Slow Motherhood October Bucket List
Welcome back Friend, Grab yourself a tasty drink and let's chat - shall we?! Welcome October!! We have officially started spooky szn and my scorpio rising is here to soak it all in!! The weather is getting cooler and, depending on where you live, much more...
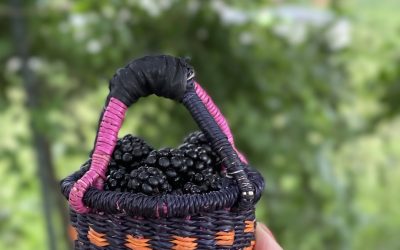
Slow Motherhood June Bucket List
Welcome back Friend, Grab yourself a tasty drink and let's chat - shall we?! Welcome June!! As we get closer to summer we start to notice our fruit trees are starting to yield their harvests, the weather is getting warmer (yet this year it doesn't seem to be getting...